With the ESXi 8.0 release now available for download, many may consider upgrading their ESXi 7.0 servers to the latest and greatest ESXi version. For the most part, many will only be doing this in lab environments as most will probably be holding off in their production environments. Let’s look at the ESXi 8.0 upgrade in three ways to see different ways you can upgrade your ESXi 7.0 or older ESXi server to ESXi 8.0.
If you would like to see the video of the upgrade methods, check out the YouTube video here:
data:image/gif;base64,R0lGODlhAQABAAAAACH5BAEKAAEALAAAAAABAAEAAAICTAEAOw==
ESXi 8.0 New Features
VMware ESXi 8.0 has many great new features, especially those related to VMware vSAN. There is a new virtual machine hardware version with the new vSphere version, a great new ESXi Host Client 2 included with the release, new configuration maximums, etc.
Take a look at what’s new with vSphere 8 here:
ESXi 8.0 Upgrade in three ways
Let’s consider upgrading to ESXi 8.0 in the following three ways:
- Using the ISO
- Using the command line
- Using vSphere Lifecycle Manager
Using the ISO
The first method is one that is familiar, using the ISO image. For this upgrade method, you simply mount the ISO image to your ESXi host, either using physical media, “burning to a USB” disk, or mounting the ISO to your ESXi VM running in a nested environment.
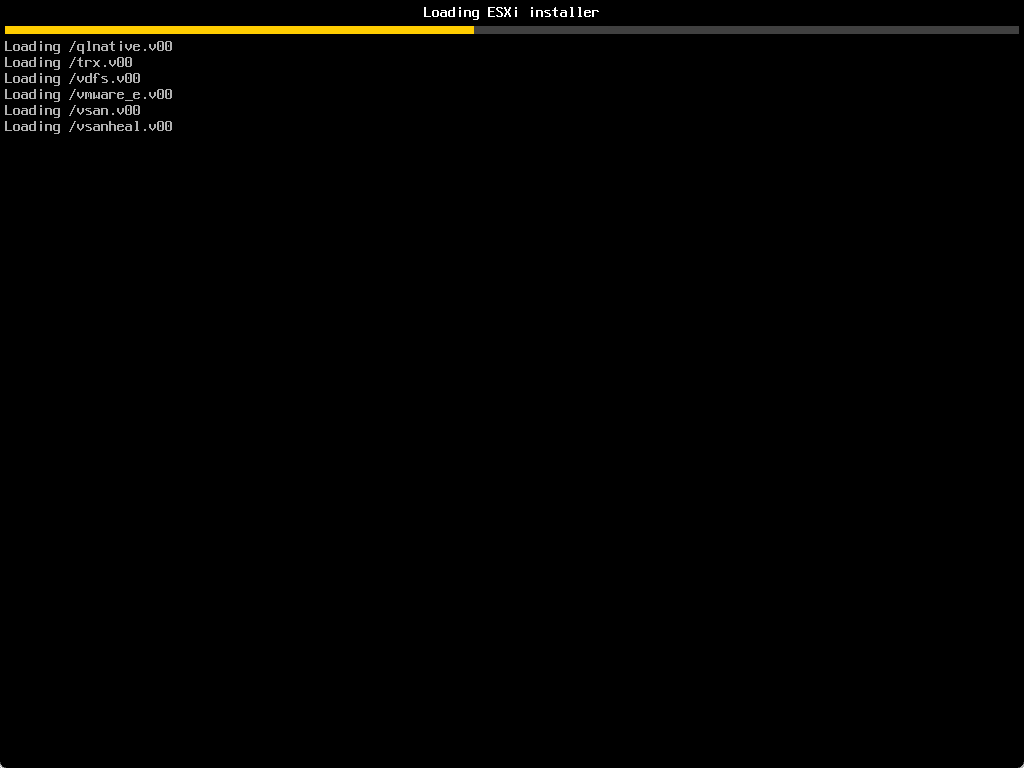
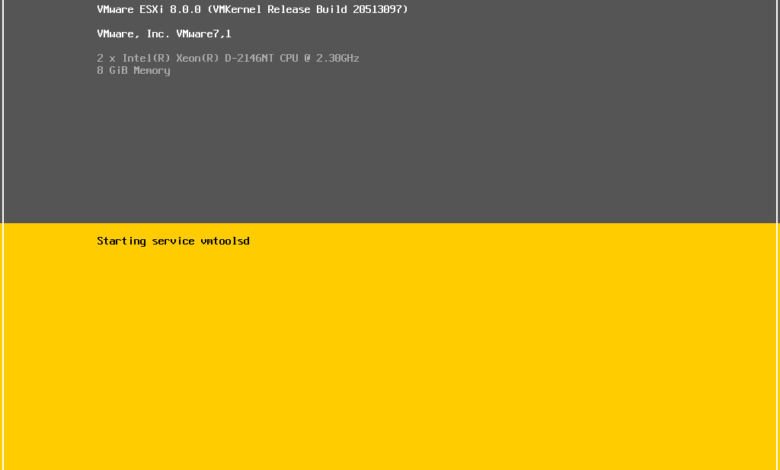
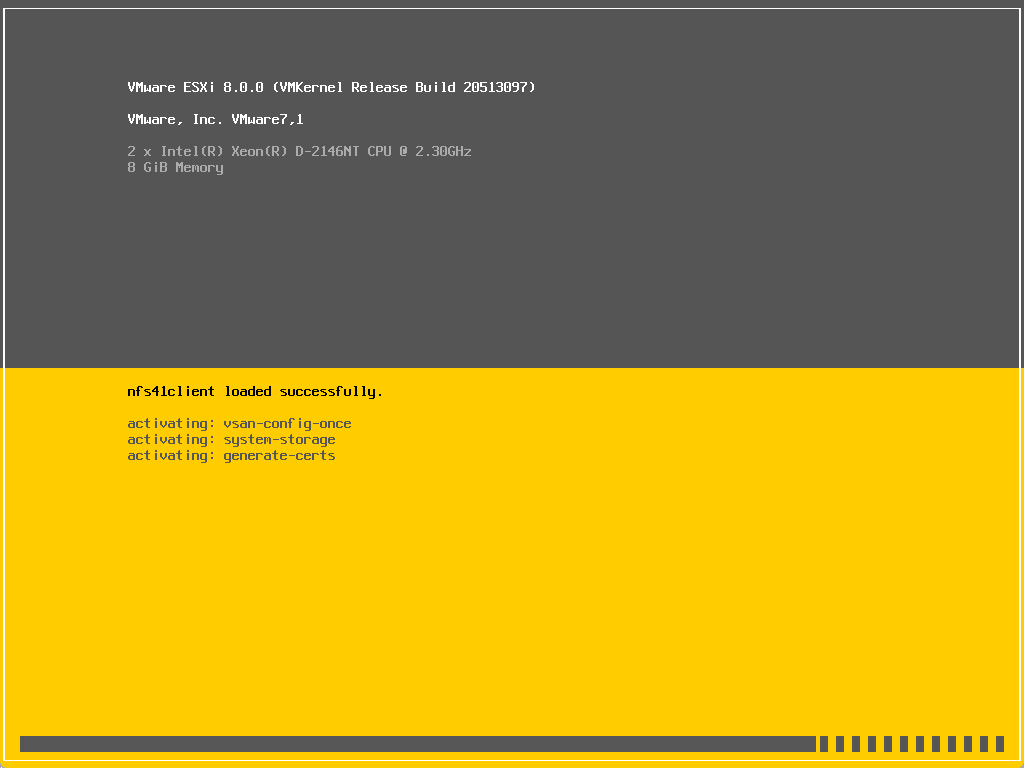
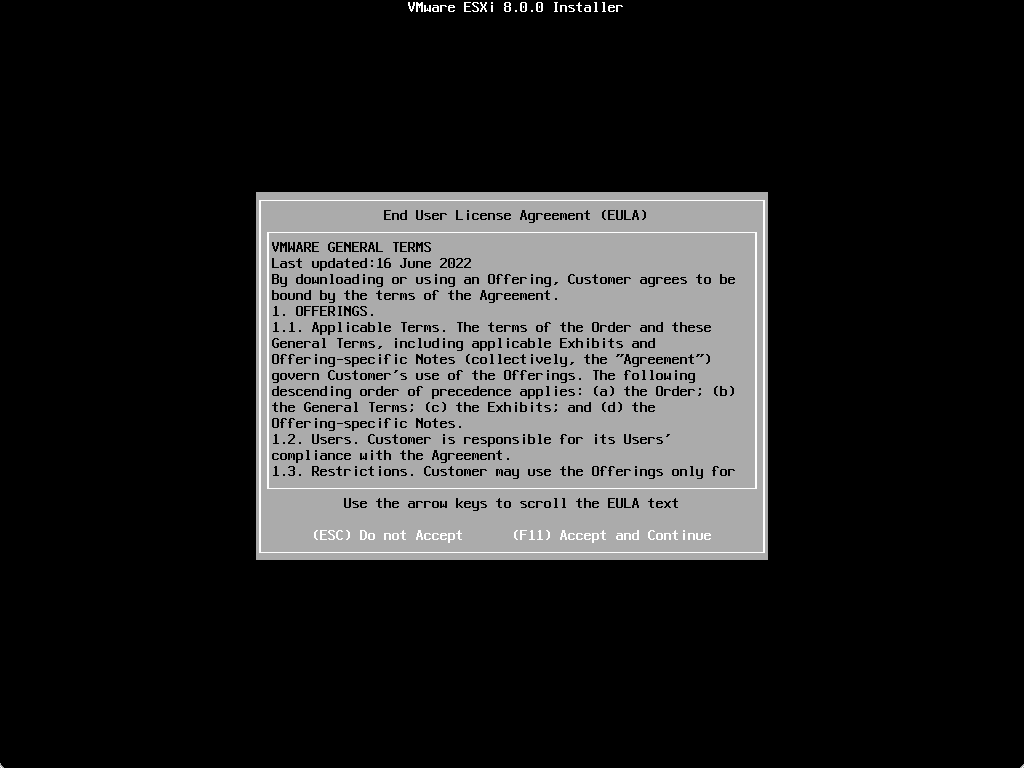
The ESXi 8.0 boot begins, booting into the installer/upgrader.
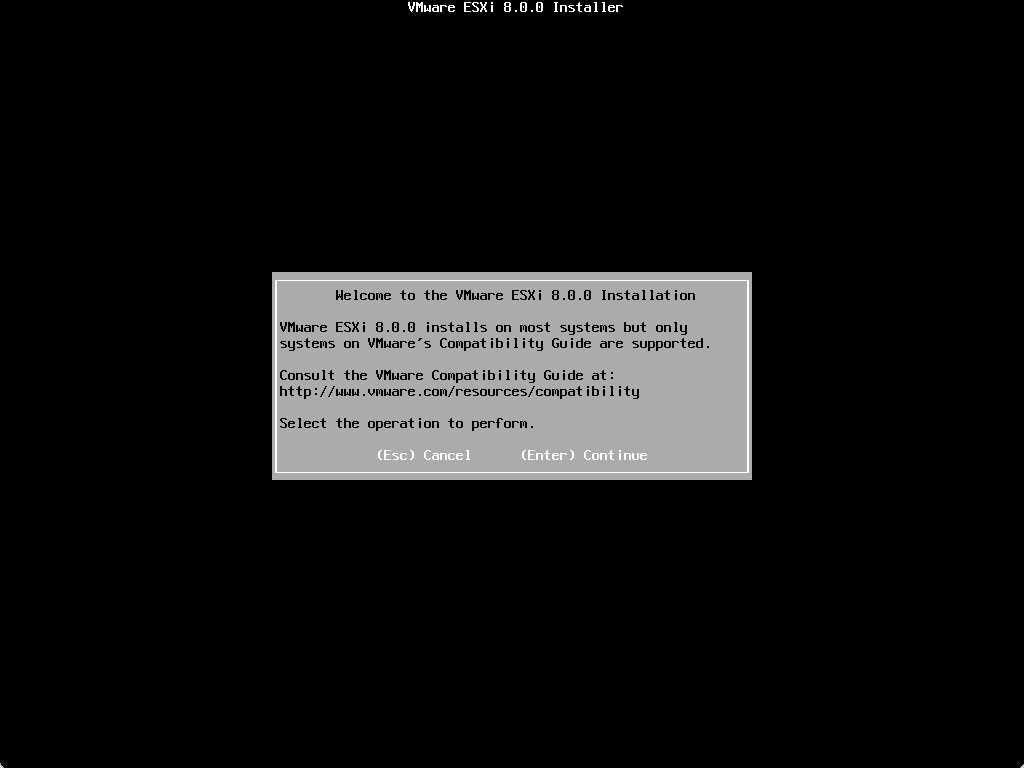
Accept the EULA.
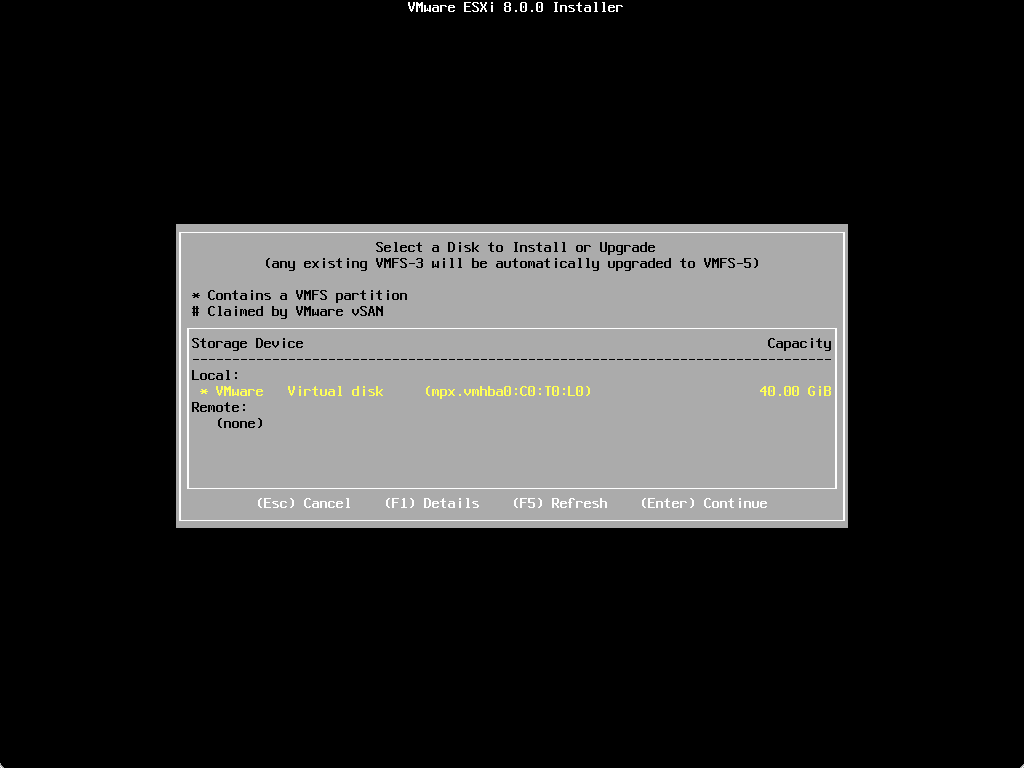
Select the destination for the install/upgrade.
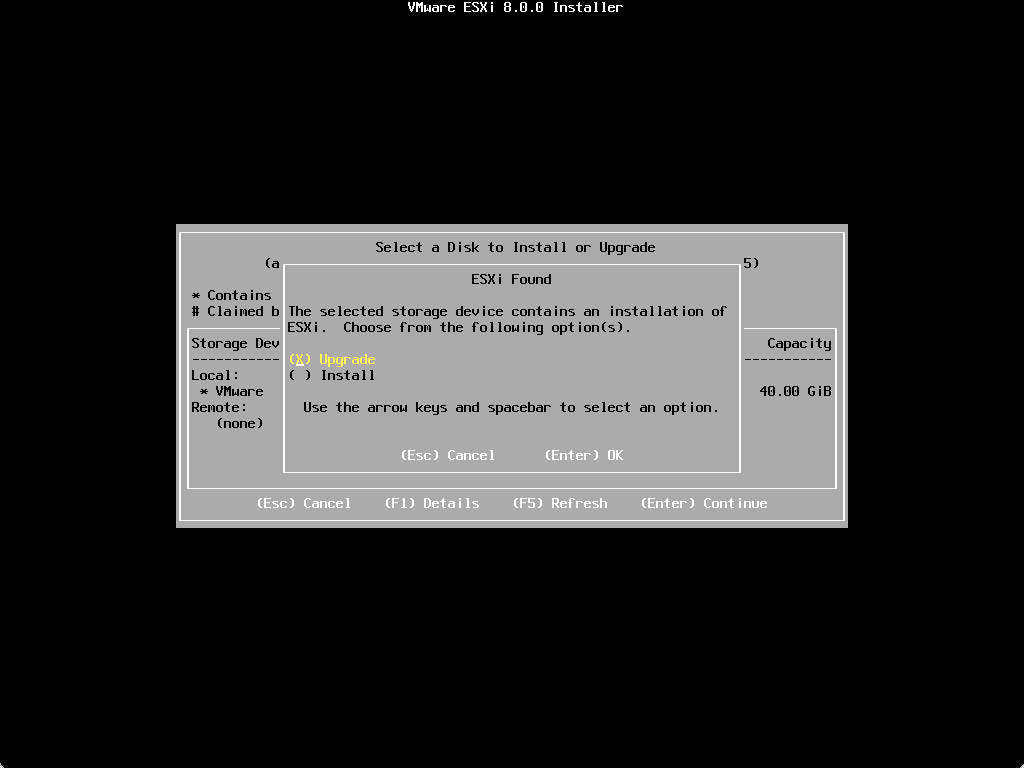
The installer will detect you have a previously installed version of ESXi. It will prompt you to upgrade your existing installation or install a clean installation.
Press F11 to begin the upgrade.
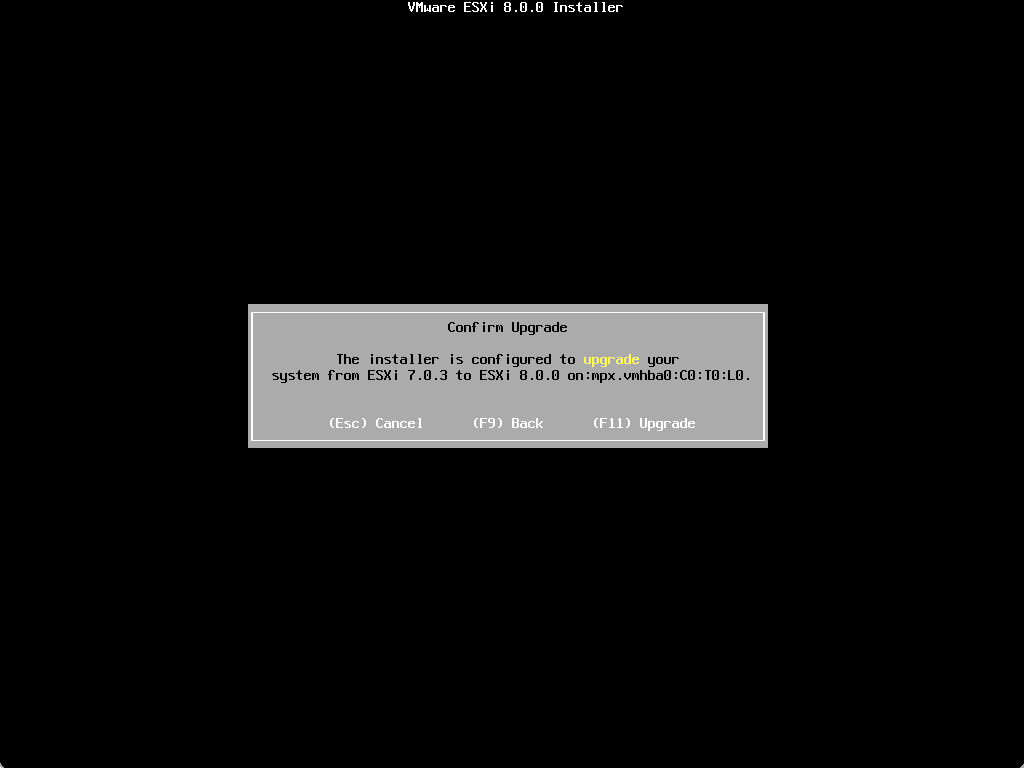
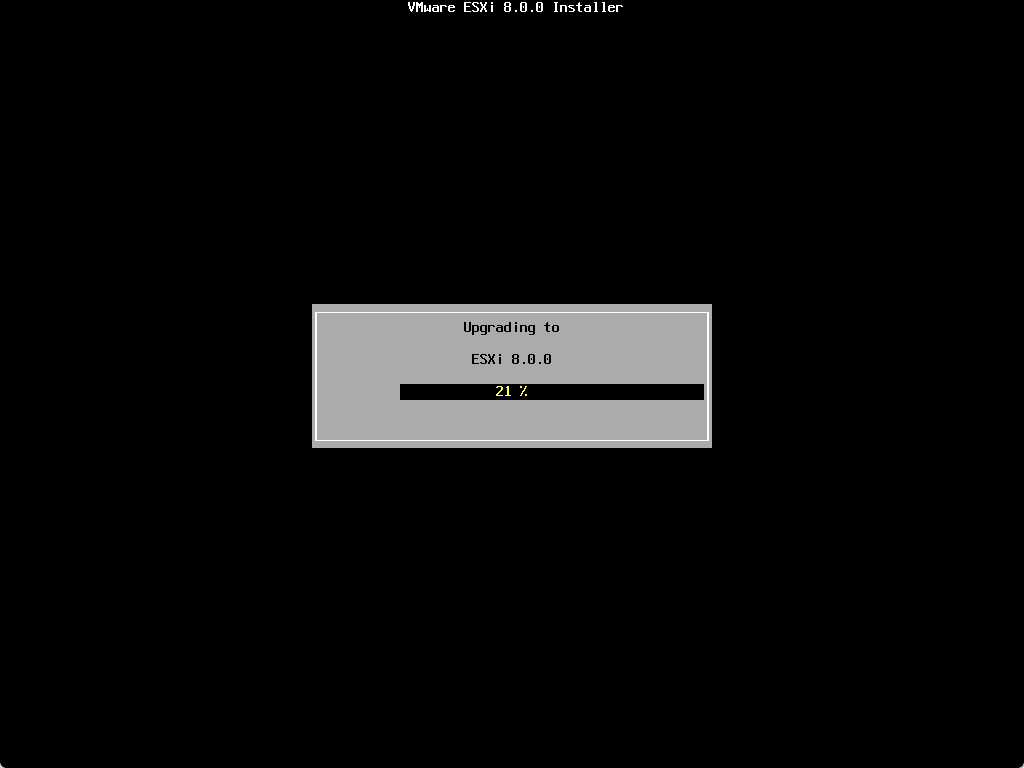
The upgrade to ESXi 8.0 begins.
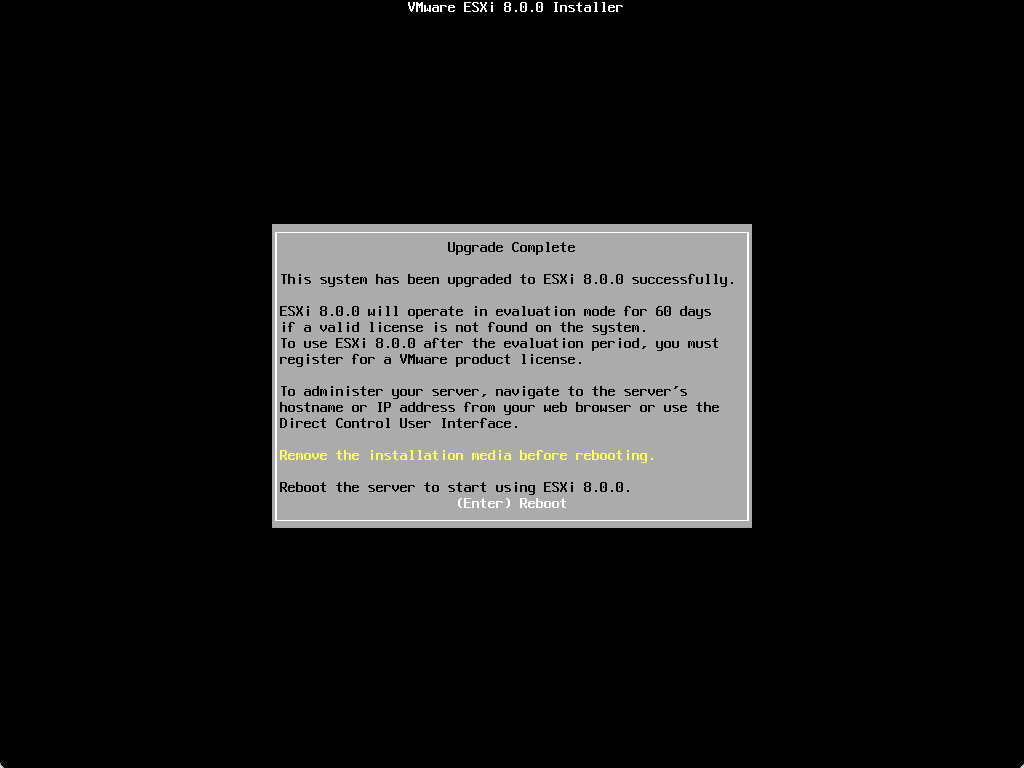
The upgrade process completes successfully. The installer will ask you to remove installation media and then reboot.
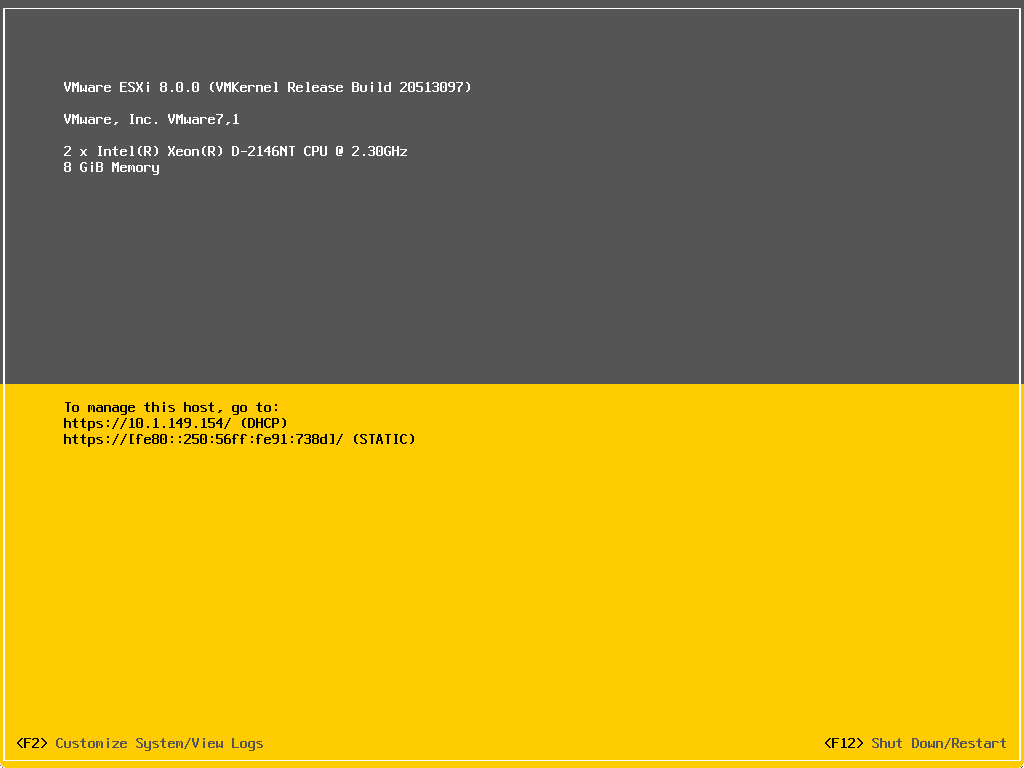
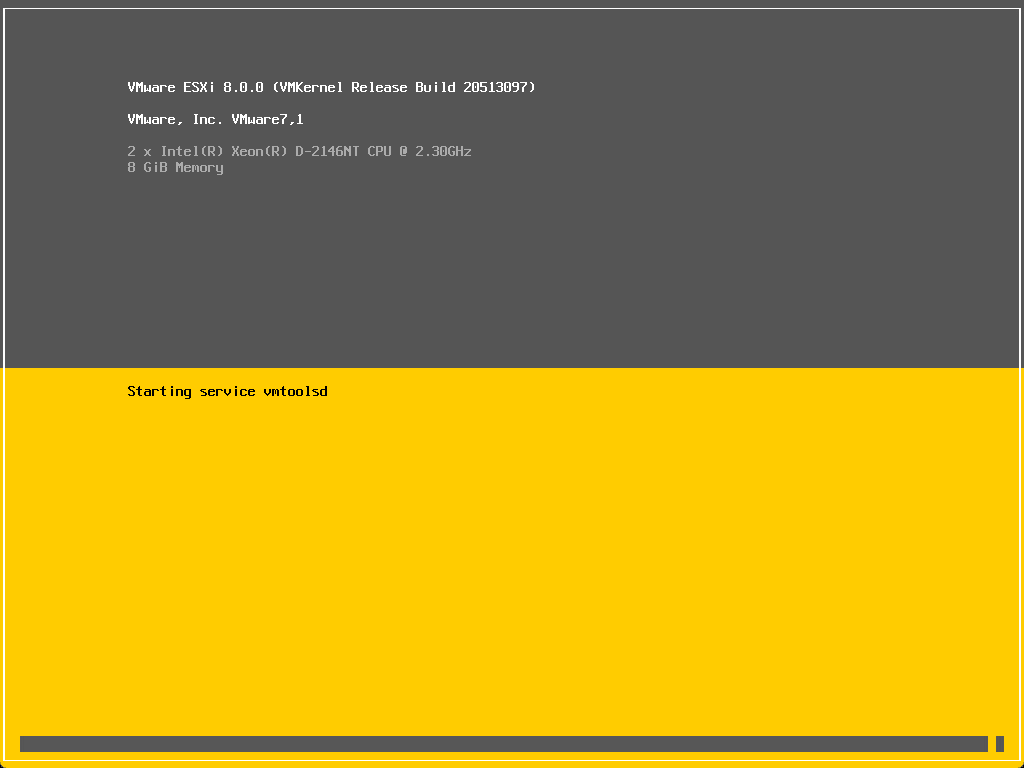
The new ESXi 8.0 host boots.
Using the command line
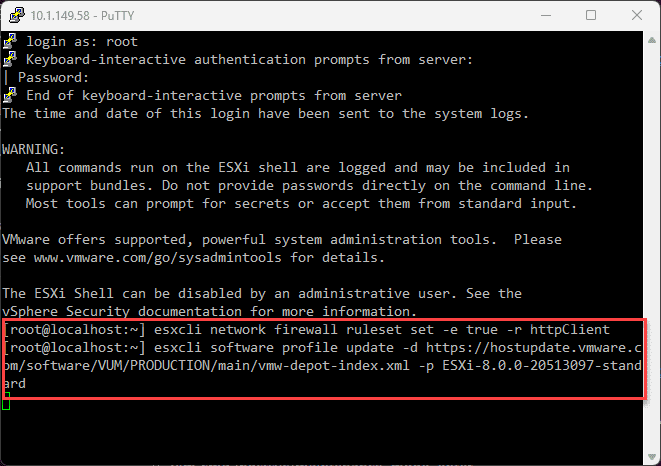
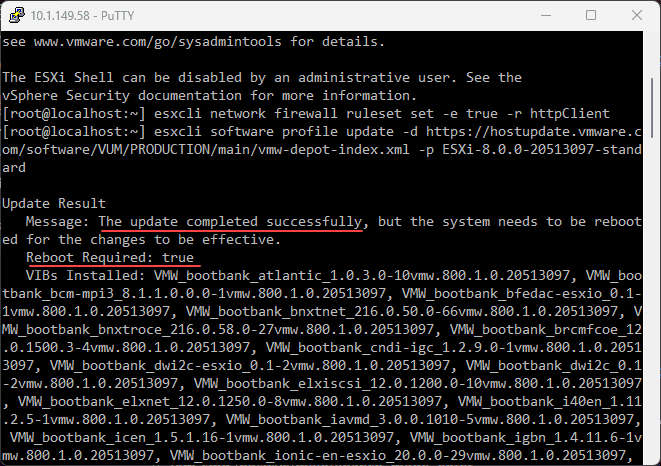
Next, we can upgrade our existing ESXi host using the command line. This is easily accomplished with only a couple of commands, including the following:
esxcli network firewall ruleset set -e true -r httpClient

esxcli software profile update -d https://hostupdate.vmware.com/software/VUM/PRODUCTION/main/vmw-depot-index.xml -p ESXi-8.0.0-20513097-standard
After a few minutes, the command line upgrade will display “The update completed successfully.” You will see the note of the “Reboot Required: true” displayed.
Using vSphere Lifecycle Manager
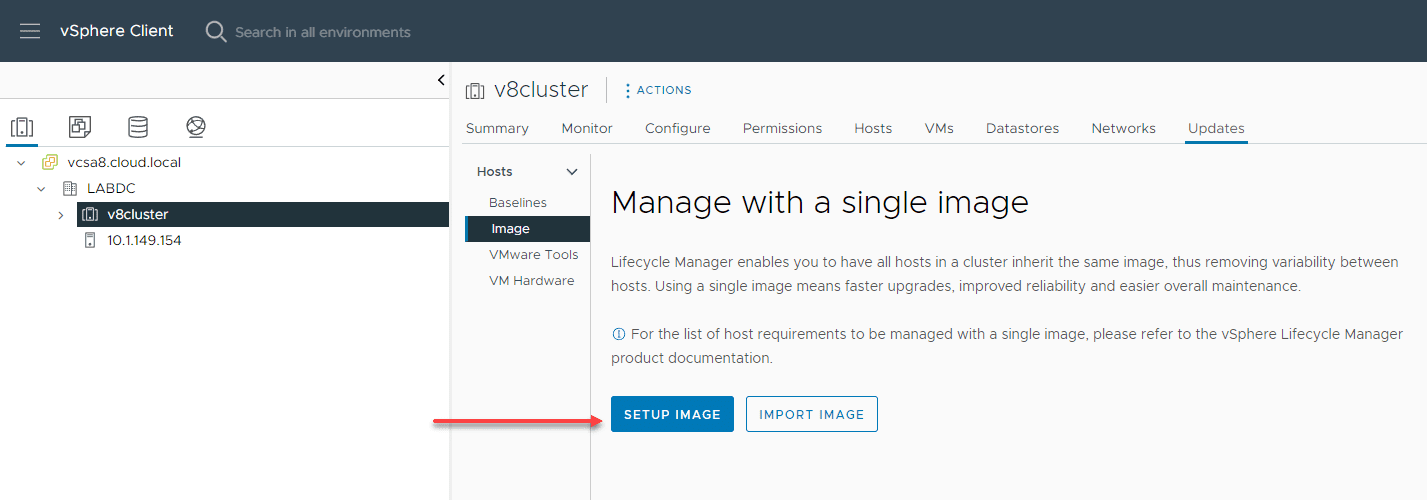
Finally, we can use vSphere Lifecycle Manager as part of vCenter Server for hosts managed at the cluster level by vCenter. On the properties for your vSphere cluster, click the Updates tab. Then click Image > Setup Image.
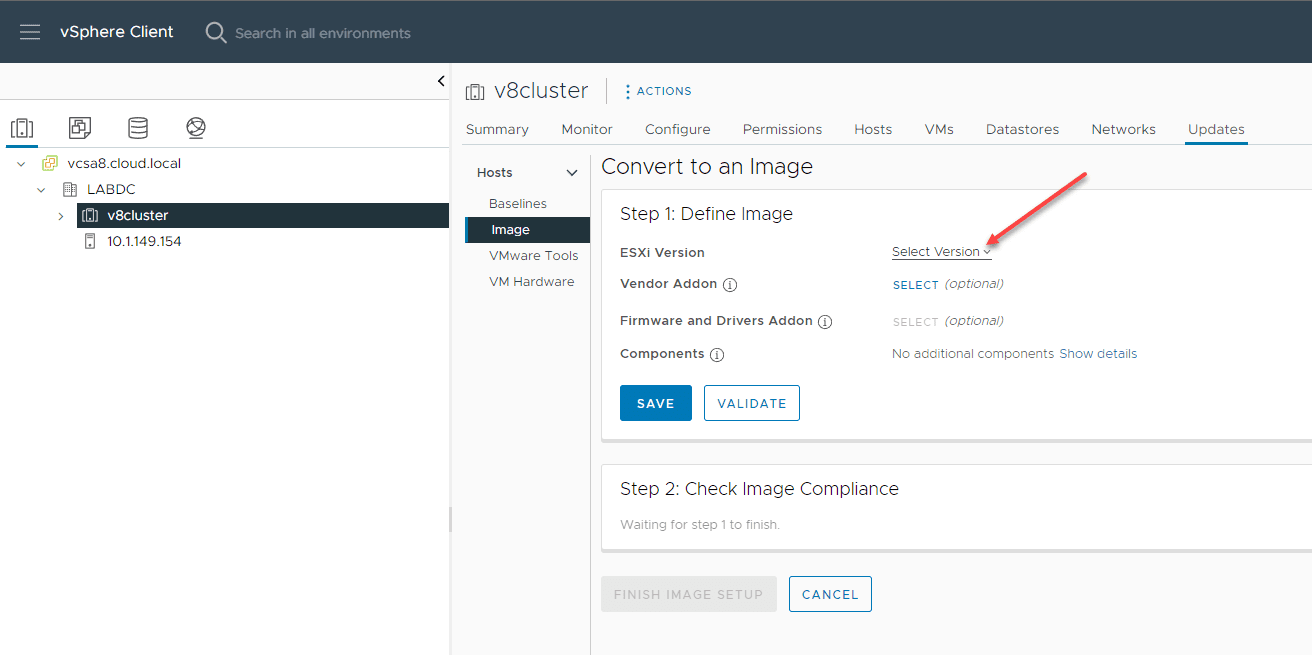
On the image configuration screen, choose the Select version drop-down on the ESXi version.
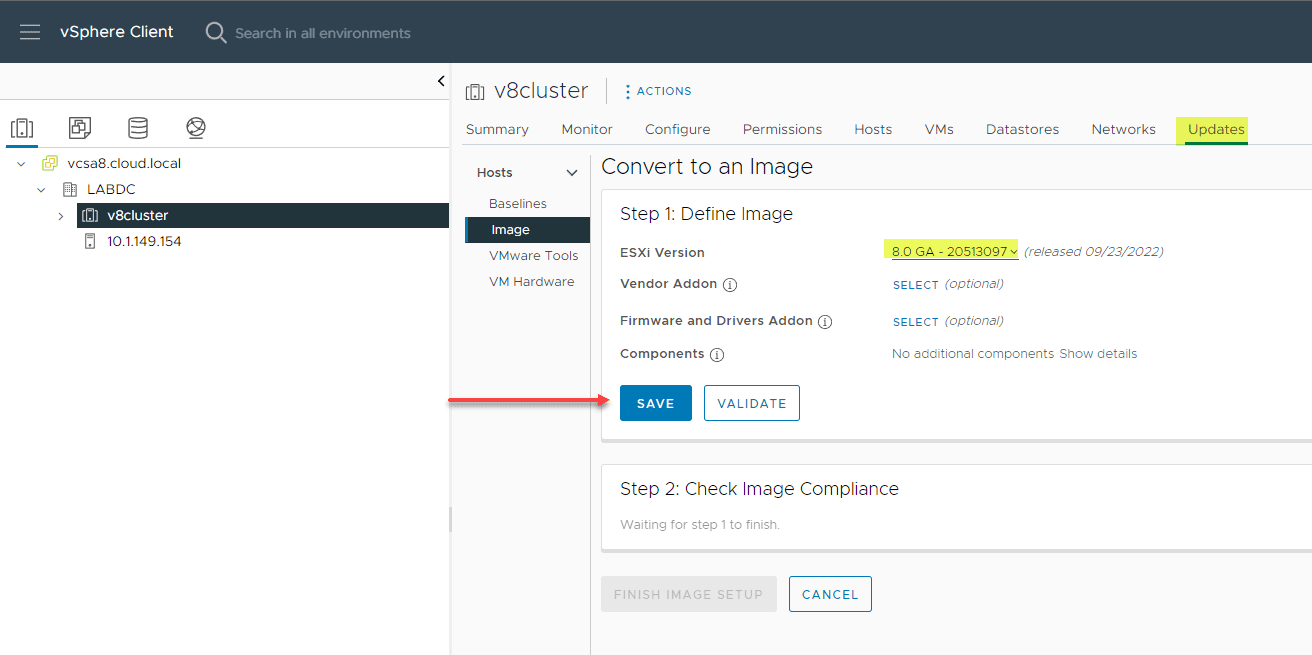
Here, we have selected the ESXi 8.0 image level for bringing the cluster into compliance. Click Save.
You will be asked to finish the image setup.

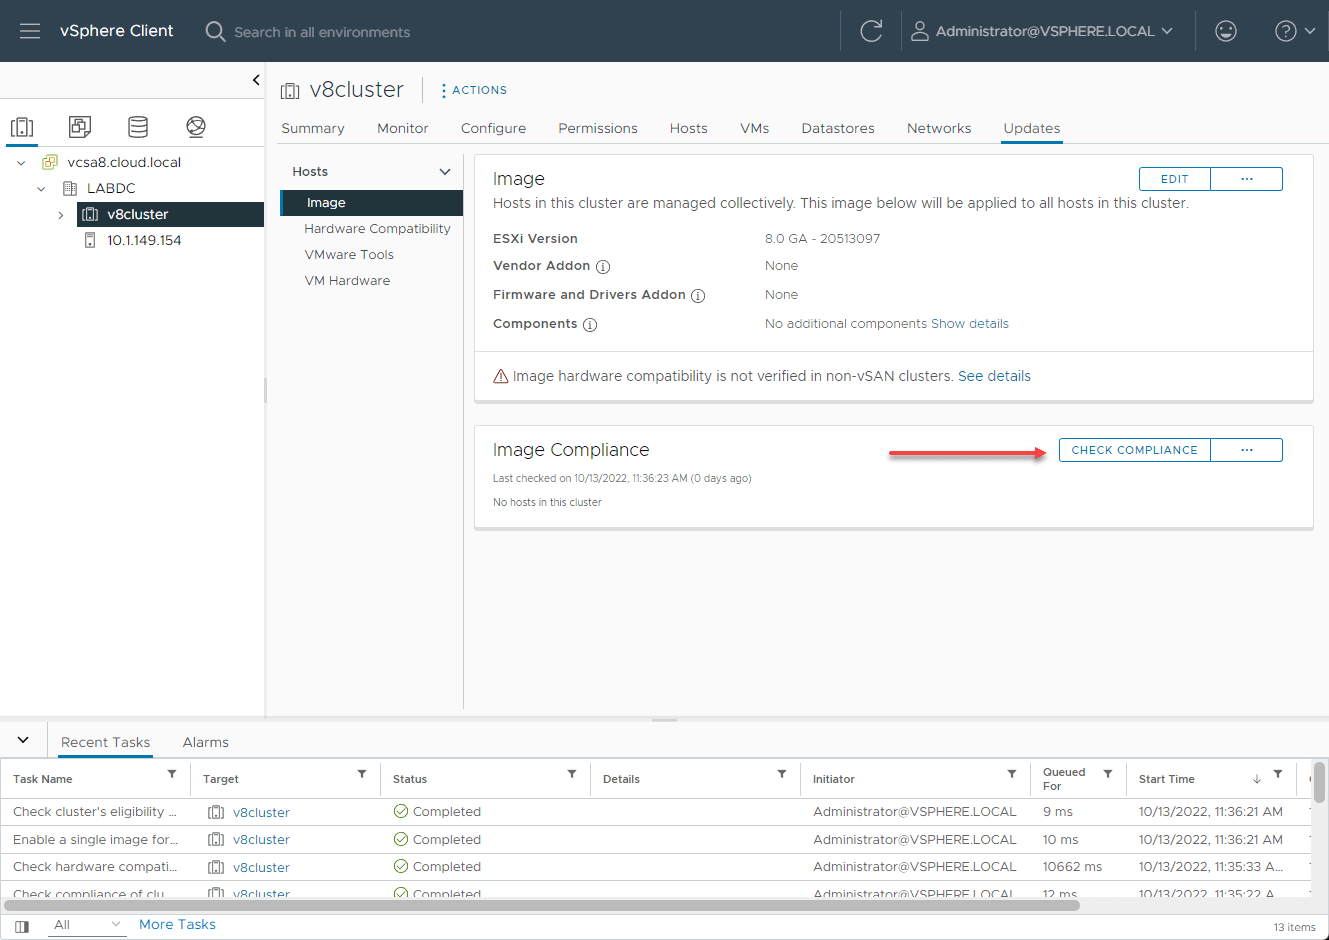
Now that we have the image configured, we need to check compliance at the cluster level. Click the Check Compliance button.
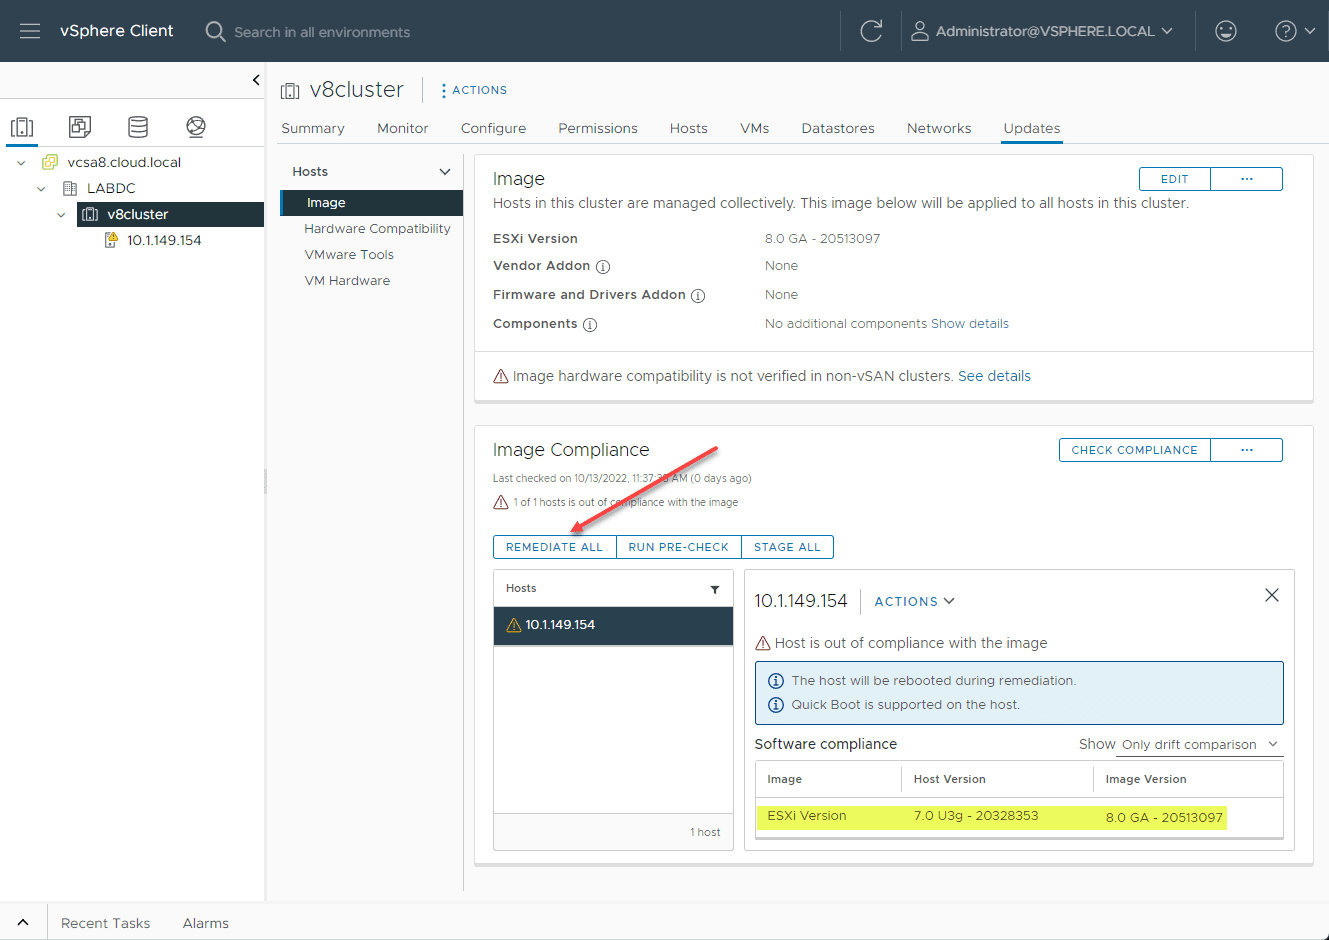
You will see hosts that are out of compliance. We need to Remediate the hosts. Here, I am clicking the Remediate All button.
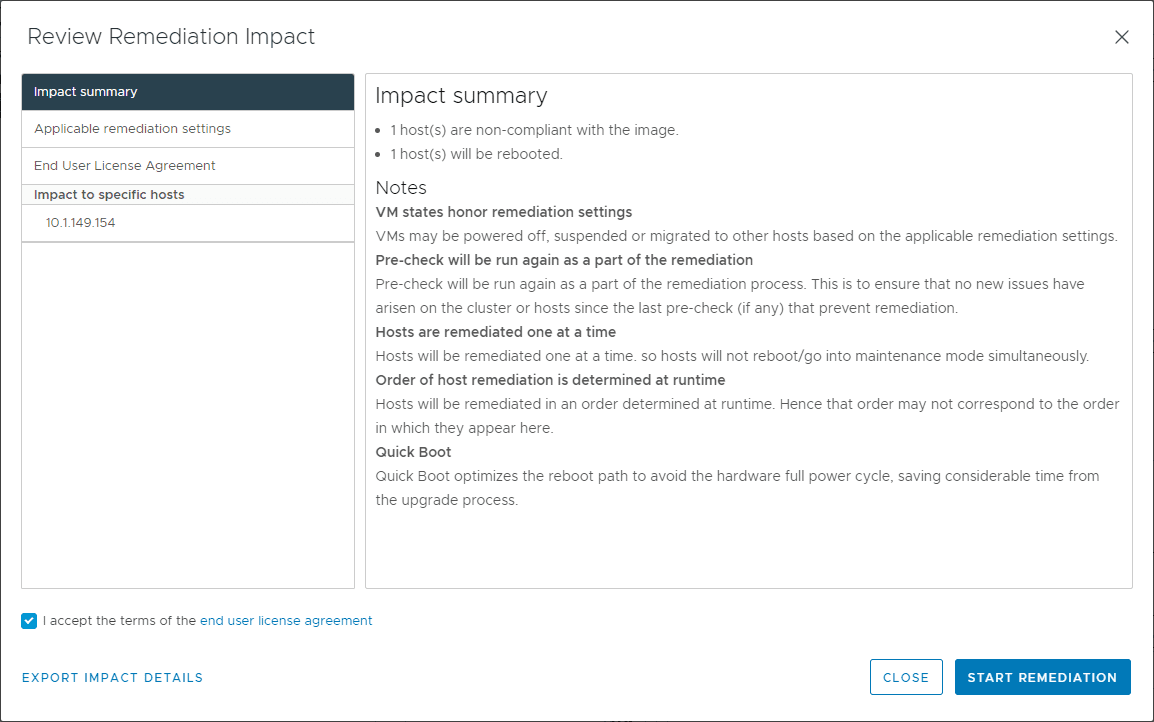
The Review Remediation impact dialog will pop up. Click the Start Remediation button.
The task kicks off in vCenter Server tasks.
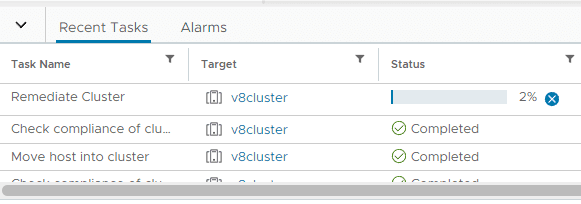
The hosts begin remediating.
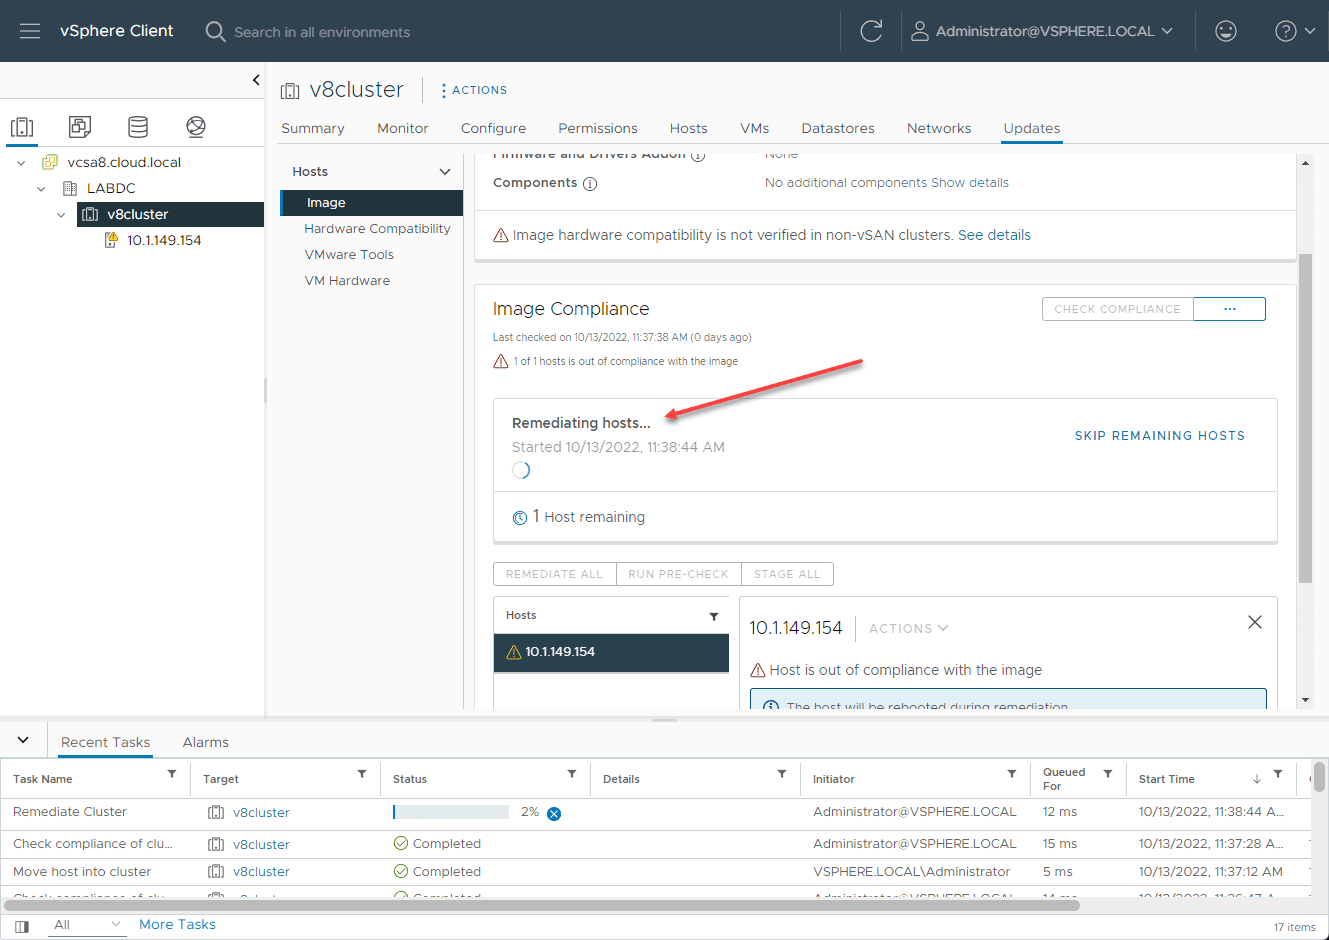
After a few minutes, you will see the ESXi host reboot and will boot into ESXi 8.0 after the upgrade process from vSphere Lifecycle Manager.
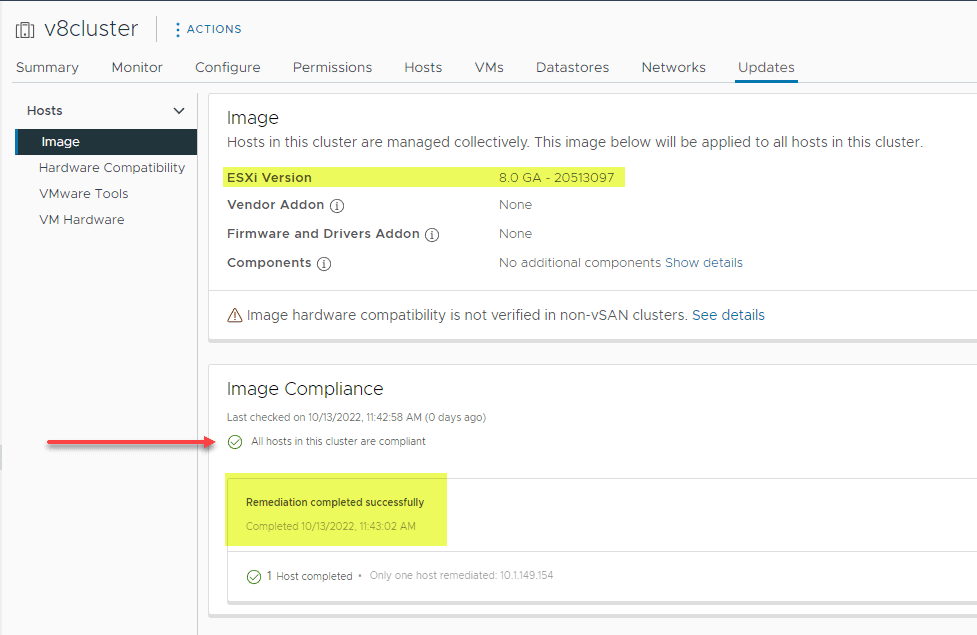
Om the image configuration, you will eventually see the remediation completed successfully and all hosts in the cluster are compliant.
Wrapping Up
Upgrading your existing ESXi hosts to ESXi 8.0 is fairly straightforward and can be accomplished in various ways, including using the ISO, command line, and vSphere Lifecycle Manager. Hopefully, this quick tutorial on the processes involved with each method will help to quickly get your lab environment up to date, running the latest ESXi 8.0 release.